

Key Takeaways
- Professional photography increases vacation rental bookings by up to 24% and revenue by up to 40% (Guesty, 2024)
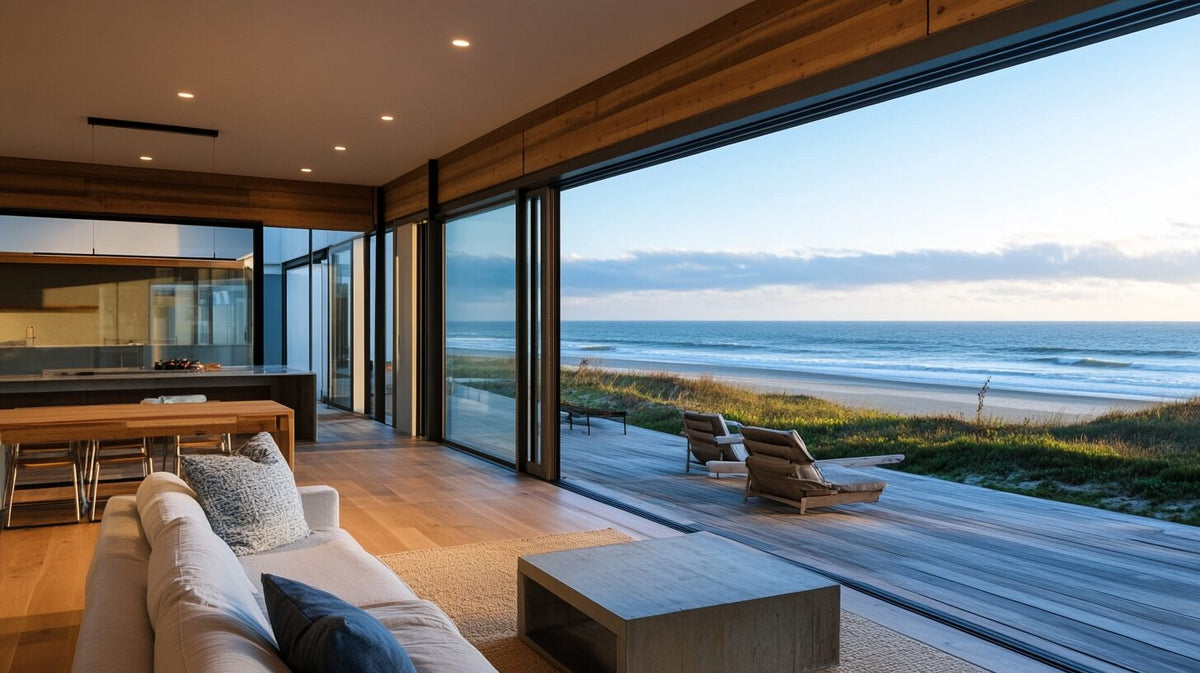
- Your cover photo is the single decision point for whether a guest clicks. It must show the most emotionally resonant aspect of your property
- Aim for 25-40 total photos. Below 20 looks like you're hiding something; above 50 overwhelms
- Natural light is your most important tool. Late morning on a clear day is almost always the best window for interior shots
- Most guests spend more time on photos than reading your description. No other listing element returns more on the time or money invested
Of every element on your vacation rental listing, photos do the most work. They determine whether a guest clicks. They shape the emotional impression that converts clicking into booking. They set expectations that either match or disappoint the actual stay.
According to Guesty's 2024 research, professional-quality listing photos increase bookings by up to 24% and revenue by up to 40%. That's not a marginal improvement. For a property earning $50,000 annually, 24% more bookings is $12,000 in additional revenue. For a $150-500 photography investment.
Here's what actually makes the difference between photos that scroll past and photos that earn clicks.
The Cover Photo: Your One Shot
Guests see your cover photo before anything else. On mobile, it's often the only thing they see before deciding whether to tap. Every other photo in your listing only exists because your cover photo earned the click.
The cover photo should show the most emotionally resonant aspect of your property. Not the most expensive piece of furniture. Not the room you spent the most time designing. The thing that makes a guest immediately picture themselves there.
For a San Diego property near the beach: the outdoor space or a view of the area. For a North Park property with a great living room: the main social space in natural light. For a property with a pool or hot tub: the pool at golden hour or the hot tub at dusk. For a Scottsdale property with mountain views: the outdoor entertaining space with the vista behind it.
What consistently underperforms as a cover photo: kitchen interiors, single bedrooms, bathrooms, and any shot that looks generic. If your cover photo could be any vacation rental anywhere, it's the wrong cover photo.
Natural Light: The Non-Negotiable
Natural light is the difference between photos that feel inviting and photos that feel flat. No lighting setup fully replicates the quality of window light in a well-lit room on a clear morning.
Best window: Late morning on a sunny day. Between 9am and 11am typically gives you warm light from an angle that creates dimension without the harsh midday shadows that flatten a room.
What to do before shooting:
- Open all blinds and curtains fully
- Turn on all overhead and accent lights (this adds warmth, not the primary source)
- Remove personal items, clutter, and anything that doesn't belong in a staged space
- Fluff cushions, straighten furniture, make beds with hotel-tight corners
- Run a final vacuum over visible floors
What to avoid:
- Shooting directly toward bright windows (creates silhouette effect and blown-out exposure)
- Shooting at night or in overcast conditions for primary interior shots
- Relying on overhead recessed lighting as your main source (creates flat, institutional feeling)
Outdoor shots work best in late afternoon golden hour (1-2 hours before sunset) for warm, flattering light. Aerial or context shots of the neighborhood or nearby beach work well in midday light when sky is blue and clear.
What Shots You Need
A complete listing should have 25-40 photos. Below 20 signals to guests that something is missing. Above 50 dilutes your best shots and creates decision fatigue. Every photo should earn its place by showing something the previous one didn't.
Required shots:
- Cover photo (outdoor space, best interior shot, or view)
- Living room (multiple angles, both wide and detail)
- Primary bedroom (bed front and center, styling tight)
- Kitchen (show appliances, storage, and the countertop setup)
- Each additional bedroom
- Primary bathroom (show the shower/tub and vanity)
- Dining area
- Outdoor space (multiple shots: full view, seating area, any amenities)
- Any standout amenity (hot tub, fire pit, game room, pool)
- Neighborhood shot or location context (nearby beach, park, walkable street)
- Welcome setup or detail shots (coffee station, welcome note, well-stocked shelf)
Shots that are optional but add value:
- Sunrise or sunset from the property if the view justifies it
- Seasonal detail shots (plants in bloom, cozy winter setup)
- Nearby attraction photos that establish the setting for guests unfamiliar with the area
DIY vs. Professional Photography
The honest answer: professional beats DIY in almost every case when there's a meaningful property to photograph.
Professional vacation rental photographers know how to stage a room quickly, use a wide-angle lens correctly (without distorting), bracket exposures for HDR blending in high-contrast spaces, and capture the angles that show the space at its actual best. Their photos look like destination photos. DIY typically looks like someone documenting their own home.
That said, the quality of DIY photography has improved significantly with modern iPhones and Android flagships. If you're shooting your own photos, here are the specific techniques that close most of the gap:
Use your phone's wide-angle lens for full-room shots. The standard lens crops too tight.
Shoot from a low angle. Hold the phone or camera at about 4-5 feet height (eye level when seated) rather than standing height. This makes ceilings feel higher and rooms feel more expansive.
Use the rule of thirds. Place the main feature slightly off-center in the frame.
Avoid portrait orientation. Landscape (horizontal) orientation is standard for real estate and rental photos. Portrait crops look wrong and don't display well on listing platforms.
Shoot RAW if possible. This gives you more flexibility to adjust exposure and color temperature in post-processing.
Professional vacation rental photography typically costs $150-500 for a standard property and often pays for itself within a few bookings. (Weekender Management, 2025) If your property has meaningful features worth showing, it's the right investment.
Photo Order and Strategy
Photo order matters almost as much as photo quality. Guests scroll through listings in order, and their engagement drops after the first 8-10 photos. Front-load your best shots.
Recommended order:
- Cover photo (best single image)
- Living room wide shot
- Primary bedroom
- Kitchen
- Outdoor space primary view
- Primary bathroom
- Secondary bedroom(s)
- Outdoor detail (seating, fire pit, hot tub if applicable)
- Dining area
- Secondary bathroom(s)
- Any special amenity (game room, dedicated workspace)
- Neighborhood context or nearby highlight
- Welcome setup / detail shots
Update your photo order seasonally. Summer-facing outdoor shots should lead when you're optimizing for June-August bookings. Cozy interior shots work better as the lead image for fall and winter. Maximizing your San Diego vacation rental income requires treating your listing as a living document that gets refreshed, not a one-time setup.
Photo Captions: Use Them
Most hosts leave photo captions blank. This is a missed opportunity. A caption that reads "Private backyard with fire pit and string lights, perfect for evenings" does three things: it adds keyword context for search, it sets the scene the photo shows, and it reinforces the emotional appeal.
Write captions as sensory descriptions of the experience, not just labels. "Living room" is a label. "Open living room with natural light and a plush sectional for movie nights" is a caption.
After Your Photos: Keeping Them Current
Listing photos lose their impact when the property has changed and the photos haven't. After any significant refresh—new furniture, a new amenity, repainted walls, or a renovated bathroom—reshoot those areas.
Outdated photos that show things the property no longer has, or vice versa, create a mismatch between expectation and arrival that damages review scores. The accuracy rating on Airbnb and VRBO is directly tied to whether guests feel the listing represented the property correctly.
As noted in our listing formula guide, accuracy is a contractual relationship with your guests. Photos are part of that contract.
Frequently Asked Questions
Is it worth hiring a professional photographer for a vacation rental?
Yes, for most properties with meaningful features to show. Professional photography increases bookings by up to 24% and revenue by up to 40% (Guesty, 2024). For a property earning $4,000+ per month, a $150-500 photography investment with that kind of return is straightforward math.
What camera should I use for DIY vacation rental photos?
A modern iPhone or Android flagship shoots remarkably well for interior photography. Use the wide-angle lens for full-room shots, shoot in the best natural light you can find, and shoot RAW for more editing flexibility. A tripod eliminates camera shake and allows lower ISO settings in lower light conditions.
How do I make my vacation rental photos look professional?
The biggest factors in order: light quality (natural light from a window), staging (everything cleared and styled), angle (shoot from a low, strategic position), and post-processing (basic exposure and color temperature adjustment). A clean, well-lit room photographed on an iPhone can look better than a cluttered, dim room shot on expensive gear.
How often should I update my listing photos?
At minimum, reshoot after any significant property change (renovation, new furniture, new amenity). Consider seasonal photo updates if your outdoor space looks dramatically different in summer vs. fall. At minimum, review your photos annually and compare against your best-performing competitor listings to see if there's a visible gap in quality.
Should I show every room in my listing?
Yes, especially rooms guests will use. A full-bathroom shot matters. A closet photo doesn't. Guests want to see the bedroom they'll sleep in, the kitchen they'll cook in, and the outdoor space they'll relax in. If your second bathroom is notably nice, show it. If it's standard, a single photo is fine.
Photography is the highest-leverage marketing investment available to vacation rental owners. Before spending money on new furniture, new décor, or platform advertising, make sure your photography shows the property you already have in the best possible light.
Contact the Stay Classy Homes team to ask about professional photography as part of our property onboarding process.

Leave a comment
This site is protected by hCaptcha and the hCaptcha Privacy Policy and Terms of Service apply.